
by Robin Jabour, Esq
W
e all know that flossing your teeth is essential for good dental health. But, have you ever heard of “nerve flossing”? Simply, nerve flossing, or nerve/neural gliding, is a series of home exercise techniques that can combine with a physical therapy routine to ease nerve pain. The exercises do not require any special equipment. When used, the exercises help gently mobilize nerves that have become painful due to adhesions, inflammation, compression and scarring. Through these tested techniques or practices, one can regain range of motion and soothe nerve pain.
e all know that flossing your teeth is essential for good dental health. But, have you ever heard of “nerve flossing”? Simply, nerve flossing, or nerve/neural gliding, is a series of home exercise techniques that can combine with a physical therapy routine to ease nerve pain. The exercises do not require any special equipment. When used, the exercises help gently mobilize nerves that have become painful due to adhesions, inflammation, compression and scarring. Through these tested techniques or practices, one can regain range of motion and soothe nerve pain.
Neural gliding exercise techniques are most often used for sciatic (back) pain, thoracic (shoulder) pain, cervical (neck), and carpal (wrist) pain. However, other types of nerve pain can be alleviated, as well. Most exercises involve slow, gentle stretches. Nerve flossing should never be painful. If you are experiencing pain, then it is recommended that you stop the exercise. It’s important to remember to try to keep your muscles as relaxed as possible while doing nerve flossing exercises and to start slowly to give your body time to adjust.
Pamphlets demonstrating exercises to help with this type of nerve pain can be found at healthcare facilities and offices. Still, there are also a number of internet sites such as YouTube, Livestrong and sports medicine departments at select universities (for example, Northwestern University has several videos posted at northwestern.edu/sportsmedicine/club-sports) that post these types of exercises.
If you have sciatica, you can try the following exercises:
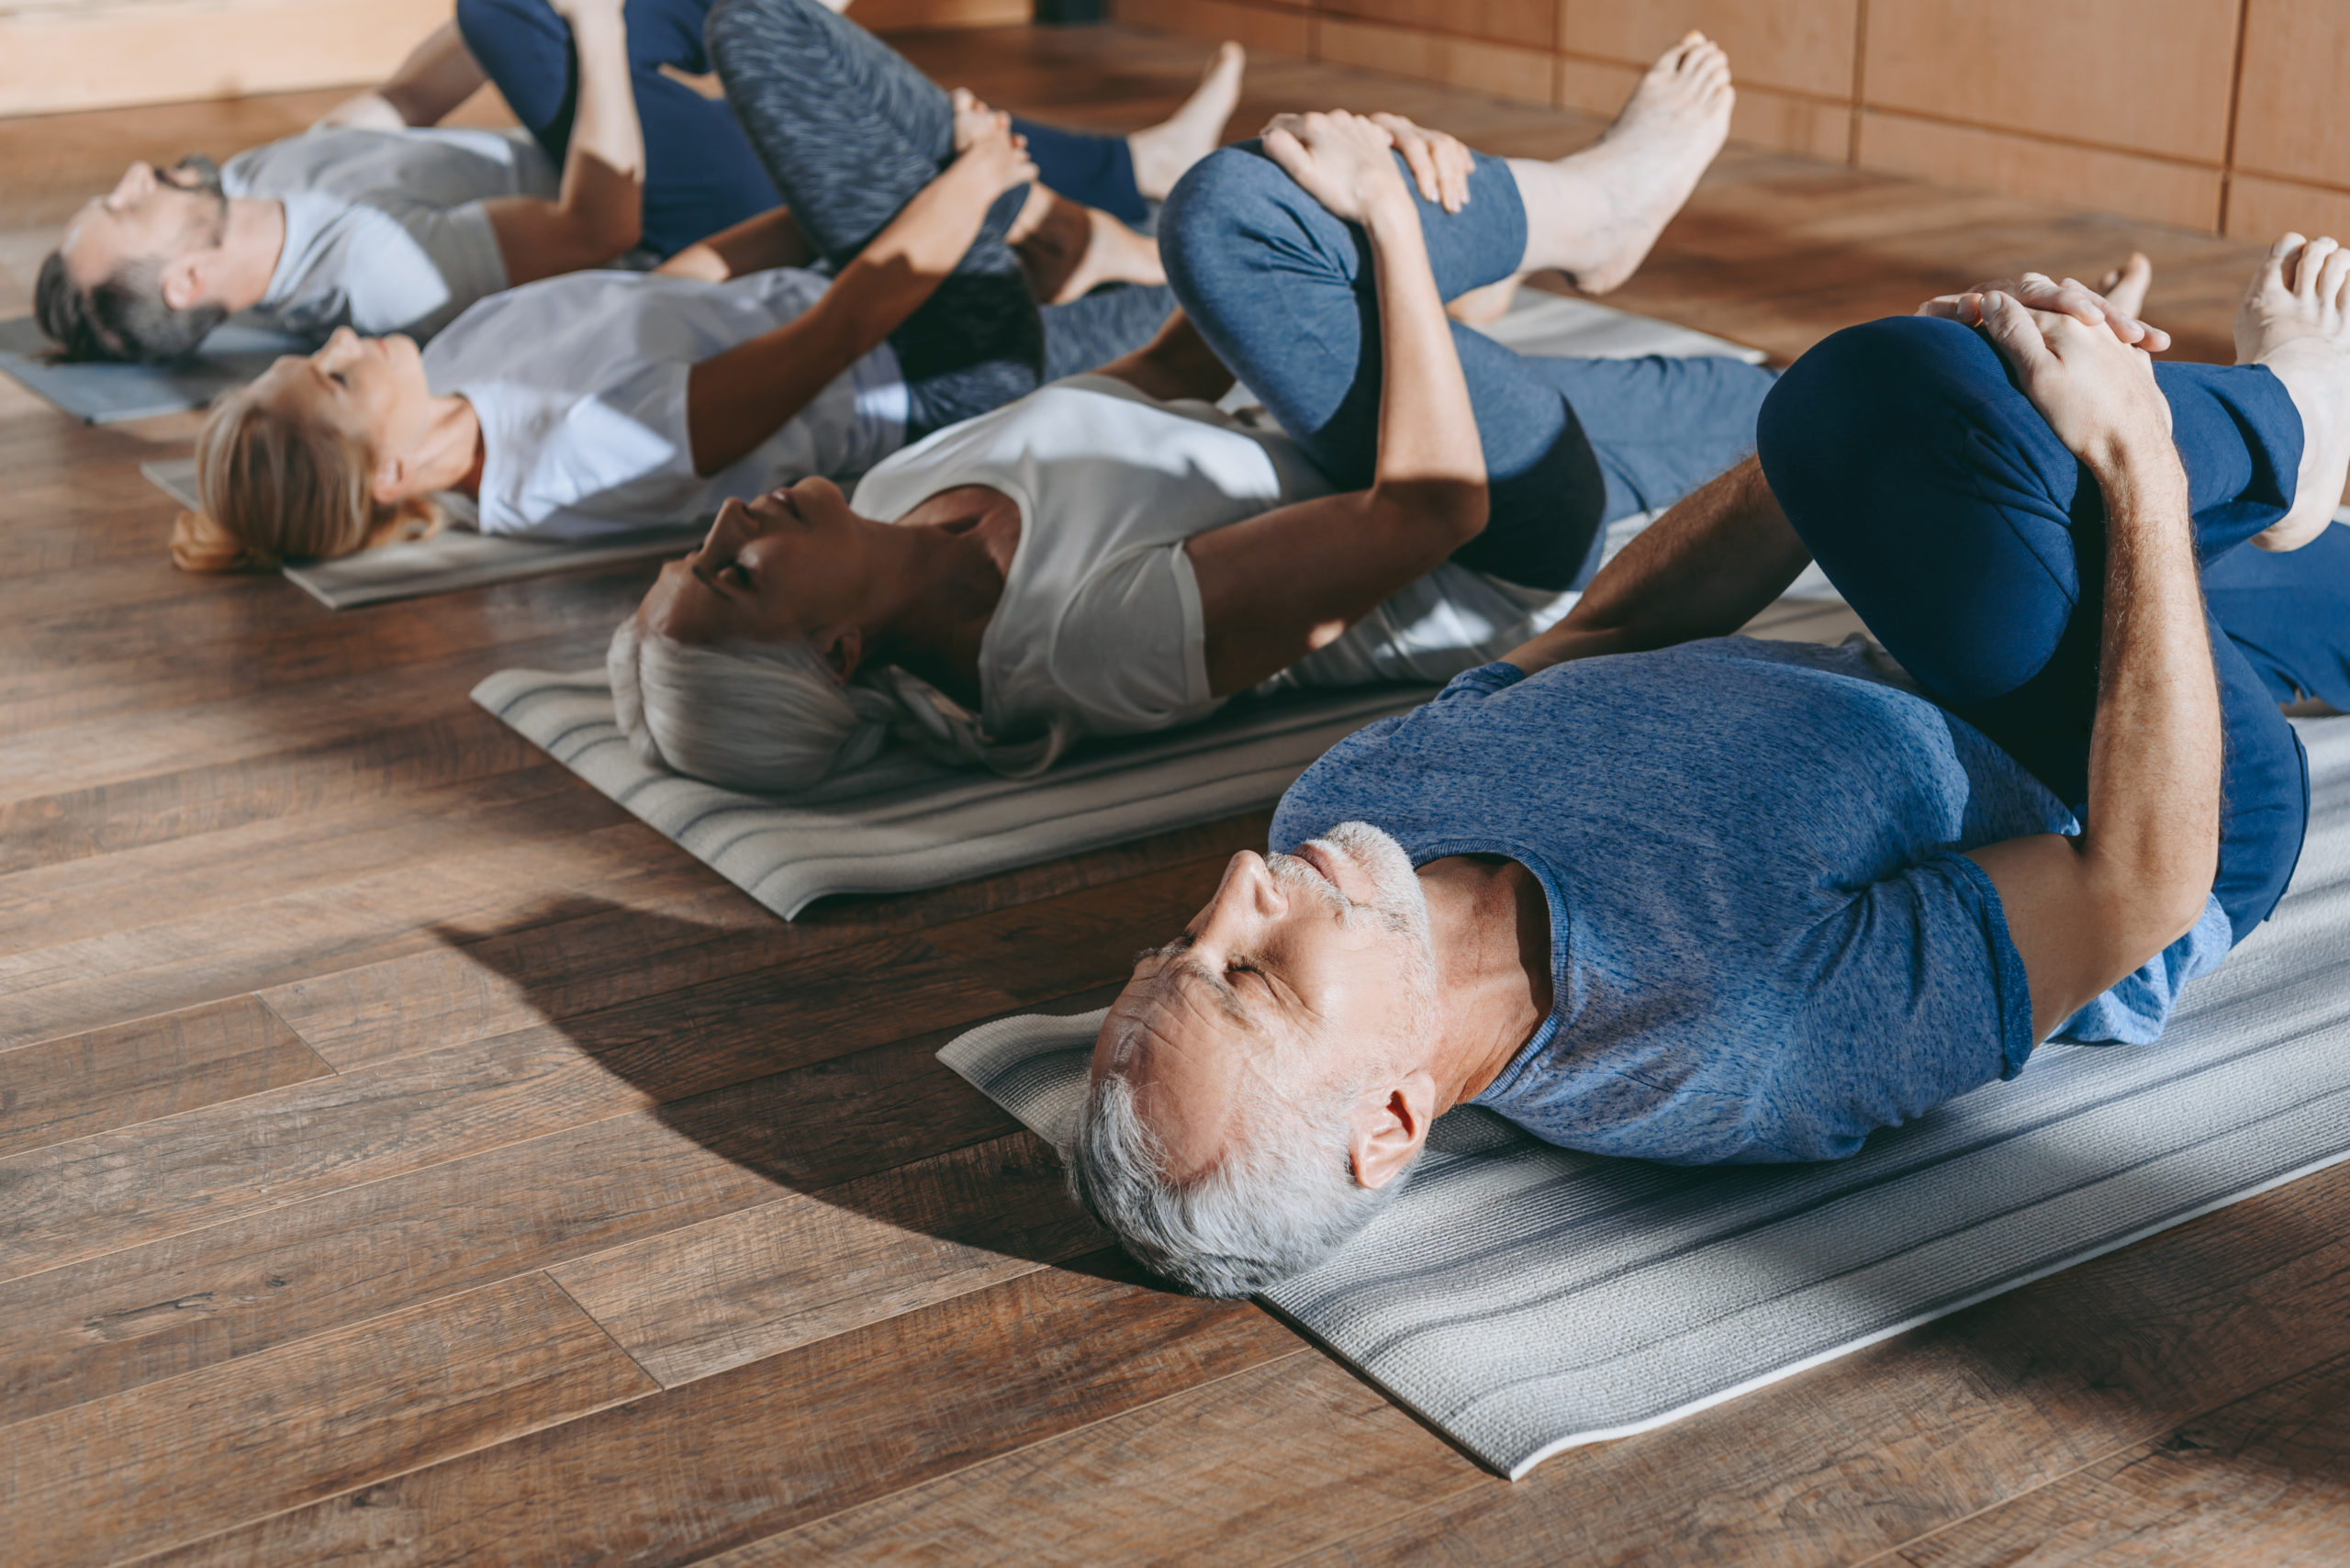
- Knee to chest stretch: For this exercise, lie on your back with a cushion under your head. Bend your knees while keeping your feet in line with your hips. Cup one knee with your hands and bend forward. Hold for 20 to 30 seconds.
- Mobilizing Stretch: Lie on your back like you would the knee to chest stretch. Bend your knees and keep your feet in line with your hips. Tuck your chin in and bend one knee toward your chest. Make sure to support the back of your leg with both hands and then slowly straighten your leg. Hold this position for 20 to 30 seconds. When finished, return to the starting position and repeat with your opposite leg.
- Hamstring Stretch: In a standing position, raise one leg onto a step or other flat, stable surface. Lean forward while keeping your back straight. Hold for 20 to 30 seconds.
- Back Extension: Lie on your stomach with elbows bent and palms flat with fingers spread. Pushing into your hands, your back. Make sure your hips are still on the floor, and your neck is straight. Hold for 5 to 10 seconds. Repeat this motion eight to ten times.
Try the following exercise for carpal tunnel:
- Start seated in a chair with your back and neck straight. Next, bend your elbow at a right angle with your arms still at your side and thumb facing up. While keeping your wrist straight, make a fist. Then extend your fingers, keep your thumb pressed to your index finger. Curl your fingers and wrist back inward. Twist your hand, so your palm faces upward. Slowly bend your wrist back with space between your index finger and thumb. Repeat this with each hand for five to ten seconds each.
If you have thoracic outlet syndrome, you can try these exercises:
- While standing with your arms at your sides, shrug your shoulders up and backward. Relax your shoulders and then shrug them straight up. Relax again.
- Extend your arms straight out to the side at shoulder level with palms facing down. Raise your arms until the backs of your hands meet.
- Face a corner in your room. With elbows bent, place your palms flat on each wall at shoulder level. Tighten your abdominal muscles as you slowly bring your chest towards the wall.
- With your arms at your sides, tuck your chin in and bend your head to the right. Try to touch your ear to your right shoulder without lifting your shoulders. Repeat with your left shoulder. Alternate between each shoulder ten times.
- Lie face down and clasp your hands behind your back. Tuck in your chin and carefully lift your head and chest as high as possible while squeezing your shoulder blades together. Hold this position for 3 seconds.
- While lying down on your back, place a rolled-up towel between your shoulder blades, then slowly raise your arms over your head. Repeat this ten times.
Of course, it is important to first obtain a diagnosis for the pain by a healthcare professional. No exercise should be undertaken unless there is a diagnosis. When beginning, always start slow and try to relax your muscles. Also, try to take long, deep breaths while performing each exercise. Most importantly, listen to your body. If you experience pain, the exercise should be discontinued immediately.


Leave A Comment